
#10 Make Ahead Christmas Brunch Menu
Introduction
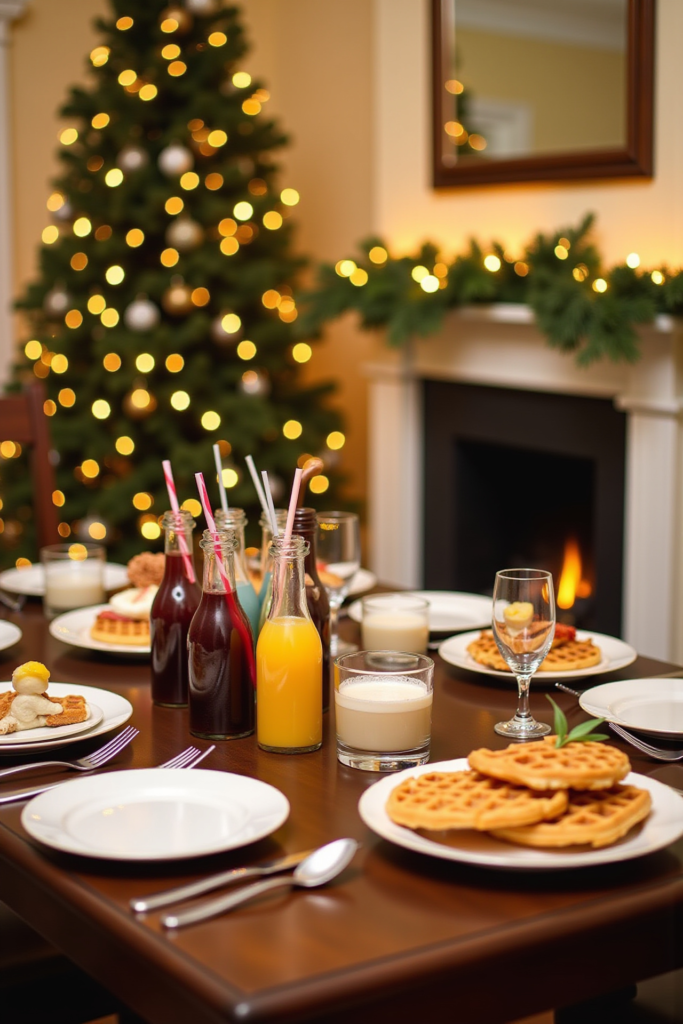
Impress your family and guests this festive season with a Make Ahead Christmas Brunch Menu that balances indulgence and ease. Take the stress out of holiday hosting by prepping rich breakfast casseroles, fresh bakes, and seasonal favorites the night before, so you can enjoy a cozy, flavorful meal together without last-minute chaos.
Why This Make Ahead Christmas Brunch Menu Shines
This menu features dishes that can all be prepped in advance, freeing you up to spend more time with loved ones on Christmas morning. From savory casseroles to bright fruit salads and sweet bread puddings, these options ensure variety and crowd-pleasing flavors, making your brunch memorable and stress free.
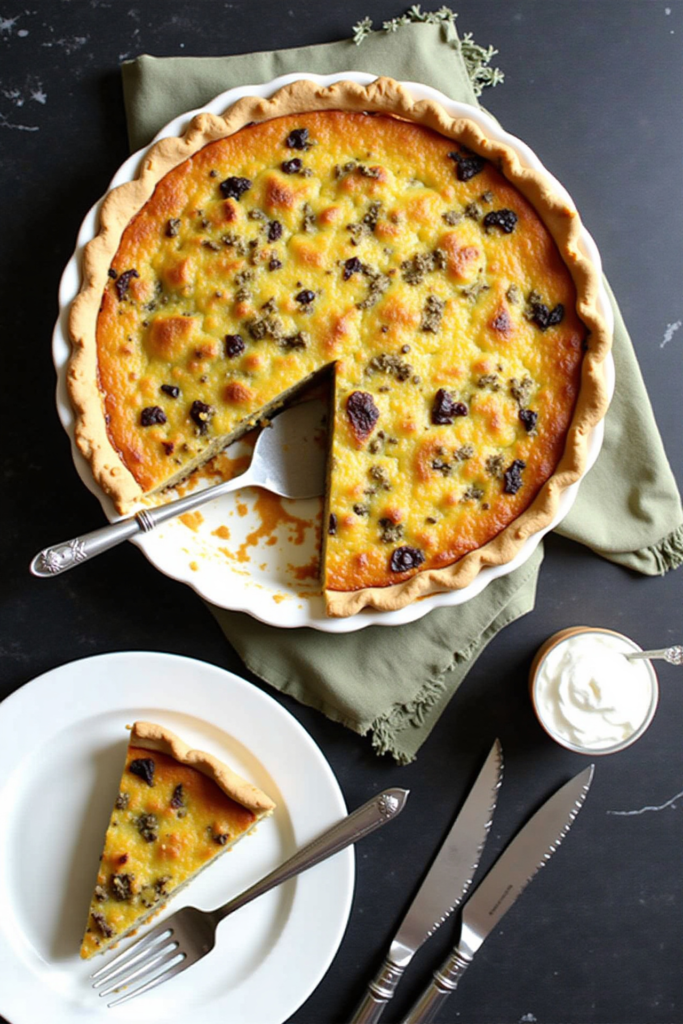
What’s on the Make Ahead Christmas Brunch Menu?
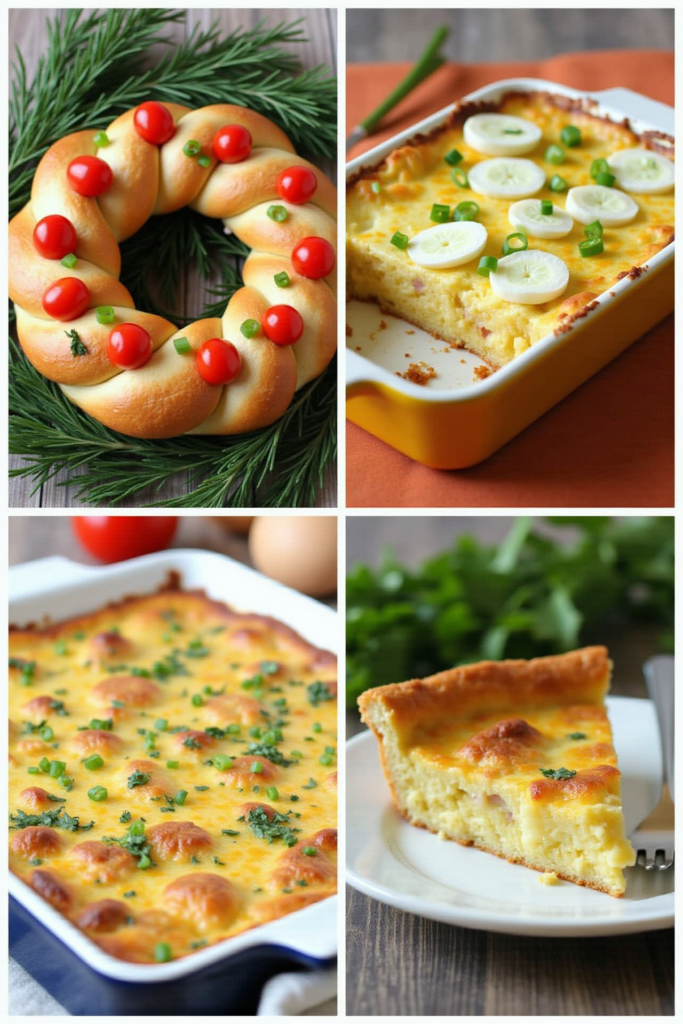
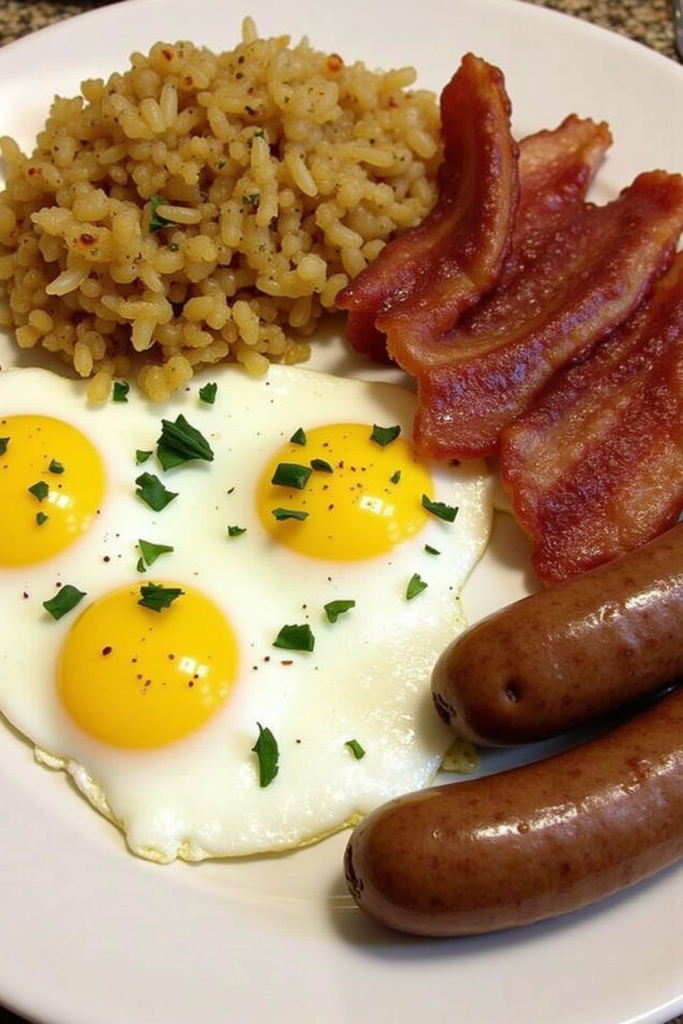
- Sausage & Egg Breakfast Casserole
- Overnight Cinnamon Roll Bake
- Maple-Glazed Bacon
- Spinach & Feta Mini Quiches
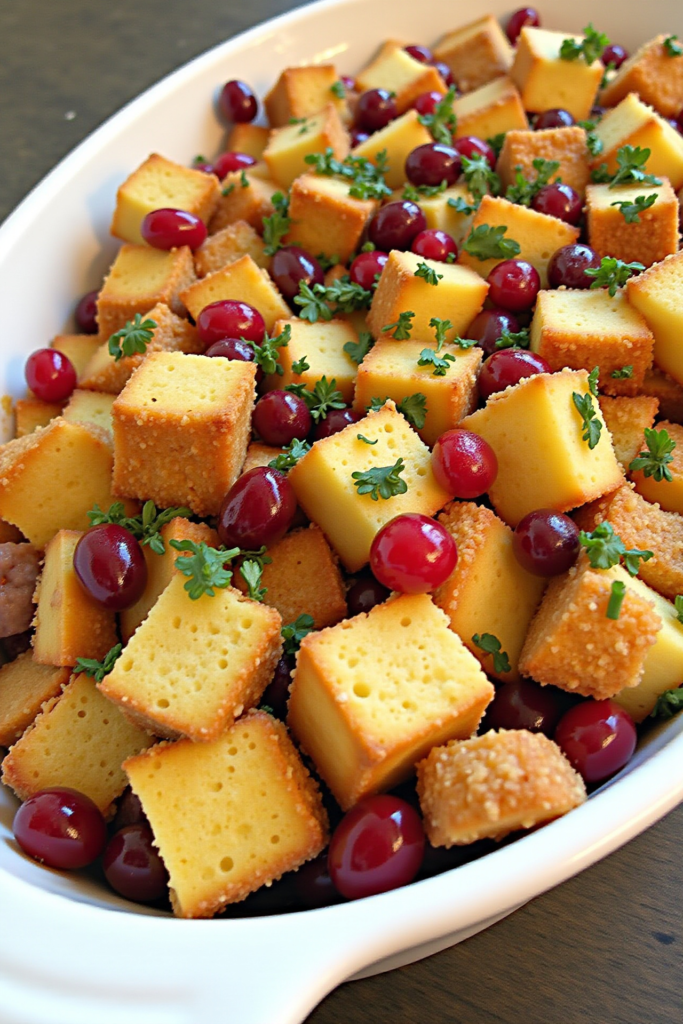
- Winter Fruit Salad with Honey Citrus Dressing
- Make Ahead French Toast Casserole
- Cheesy Hash Brown Bake
- Cranberry Scones
- Chia Seed Breakfast Parfaits
- Festive Holiday Punch
The Highlight: Overnight Cinnamon Roll Bake
With layers of tender cinnamon-spiced dough and a creamy vanilla glaze, this bake delivers the nostalgia of classic cinnamon rolls with minimal morning effort. Simply assemble the night before, let it rest in the fridge, and bake fresh for a sweet and airy centerpiece that your guests will adore.
Essential Ingredients for a Festive Brunch
Ingredients
💡Meal Planning Tip: Save this menu to automatically generate an organized shopping list, categorized by store section—making your busy holiday grocery run faster and safer!

Instructions: Overnight Cinnamon Roll Bake
- Grease a 9×13” baking dish. Cut cinnamon rolls into quarters and arrange in the dish.
- In a bowl, whisk together eggs, milk, vanilla, and cinnamon. Pour evenly over the rolls, pressing down lightly to absorb.
- Cover tightly and refrigerate overnight.
- In the morning, preheat oven to 350°F (175°C). Bake for 30–35 minutes, until golden and set.
- Drizzle with included icing and serve warm.
Tips for Assembling Your Brunch Menu
- Prep all casseroles and bakes the night before for easy morning baking.
- Whisk fruit salad dressing and toss fruit together just before serving to keep things fresh.
- Set out chilled breakfast parfaits and scones with fixings in advance for a beautiful buffet.
Serving Suggestions for a Show Stopping Brunch
Garnish your table with fresh herbs, bright berries, and sprigs of holly for a festive touch. Complement sweet dishes with creamy yogurt or extra glaze, and serve savory quiches and casseroles alongside a warm bread basket.
Nutritional Information and Serving Size
This brunch menu serves approximately 10. Each dish offers a balance of proteins, carbs, and festive sweetness—perfect for a special occasion. For healthier choices, incorporate extra produce and leaner proteins into the spread.
Your Make Ahead Christmas Brunch Menu (Recap)
An adaptable, prep-ahead selection allows you to serve up a joyful Christmas brunch that’s rich in flavor and low on stress—guaranteed to please a hungry holiday crowd.
Weekly Meal Planning
This Christmas brunch menu is ideal for meal prep during busy holiday weeks. Save and schedule this menu within your weekly planner to automatically generate consolidated ingredient lists—ensuring a smooth holiday prep and seamless shopping.
Planning Benefits:
- Aggregates ingredients across brunch and other weekly recipes
- Sorts your shopping list by store layout for efficient shopping
- Eliminates duplicate purchases and helps prevent missed items
- Makes it easy to adjust servings based on your guest list
Pro tip: Schedule this menu with other holiday meals and side dishes in your planner to get a full view of overlapping ingredients and minimize waste—leaving you with more time to celebrate!
Cook and Prep Times
Prep Time: 30 minutes (evening before)
Cook Time: 45–60 minutes (morning of, depends on dishes baked concurrently)
Total Time: 1 hour 30 minutes (including resting and baking time)
Enjoy a delicious, festive, and stress-free Christmas morning with this curated make ahead brunch menu!